Sandbagged!

Sandbagged!
Photograph by Steve Barnett

Tuesday, 26 April 2011

Those three principles all over again...

A wonderful day in the sunshine watching Hawthorn flies in their courtship dances and also seeing the trout grabbing every one of them that ended up on the surface of the river in the unpredictable breezes.
You may recall the three principles that I gladly bang on about to anyone who might pay attention...
Well one example of putting this blessed trinity to work was as I passed through a little gate, it was possible to OBSERVE over on the other side of the river that the fish were hammering the Hawthorn flies.  I tried a cast or two.  Reaching the fish was no real problem but controlling the line was another matter entirely.
What to do?  Simply put I needed to FISH WHERE THE FISH ARE and so walked back upstream, crossed over by the bridge and then worked my way through the pathless swampy wood on the true left bank.  Arrived at the place it was then necessary to BE STEALTHY as there was no cover at all.  The place to be was sat cross legged on the exposed gravel bed.  Crawling to the spot was the only choice.  Undignified certainly but it was worth it.

The reward was almost an hour of exciting Sport with each hooked fish blasting away downstream in the fast currents, side strain persuading them into the slacker water in the edge followed by a gentle guiding into the welcoming meshes of the long handled landing net.

That evening my close pal, John, joined me.  He had a new rod.

"Aren't you going to take the plastic off the cork handle?"

"Only when I catch a fish on it..."

Hmm.... He had arrived quite late on.  There were fish still prepared to eat the Hawthorn flies but the daylight was now fading quickly.  After trying a few places with a Charles Cotton's Black Fly exactly like the one I'd been using all day, his rod was still not about to lose the plastic wrapping. Part of the problem was a lack of visibility on the darkened water.  A change of fly (to a Double Badger) and he quickly caught a very nice little wild rainbow trout.  The plastic could come off, later...

We made our way slowly upstream back to where he had parked his car.  On the way he had a few speculative casts whilst I went ahead a little to OBSERVE!  Lo and behold!  There were several rising fish in both sides of a line of flow.

"C'mon John!  Get up here!"

For John to FISH WHERE THE FISH ARE, he had to BE STEALTHY so he crawled into the vantage point and knelt where I suggested.  Two or three casts later...

"I think your fly's come off!"

"It never has.  Has it?"

"Aye it has."

"I never felt anything..."

"Never mind that!  Can you see all these flies around us?"

"Aye!  What are they?"

"Spinners!"

They were male blue winged olive spinners and the fish were eating their wives.

So, for the first time this season, a PPS was tied onto his tippet.  A few minutes later John was testing his new rod nicely with a very strong wild rainbow trout that certainly did its best to be elsewhere.  It looked brilliant in the last of the daylight and had the reddest stripe on each side and a big red patch on either "cheek".  I hope you can get some idea of how lovely this fish was from the hurriedly snapped photo.  We watched him swim back to where he came from then we shook hands and grinned at each other like a couple of daft kids...

It was a perfect end to a perfect day!


Regular Rod

Saturday, 23 April 2011

Snags, structure, hidy holes...

... call them what you will, but pay attention to these bountiful places.  They are too good to miss!

Those of you British anglers, who may have spent some happy times coarse fishing before now, will probably be very familiar with the chub.  A beautiful creature, with a big, all enveloping mouth, that bites boldly but lives timidly.  Chub like to hide in snags.  Tree roots, tangled, flood-borne, woody debris, weedrafts snagged on bridge supports are all excellent places to find chub.  Show yourself to a chub though and he will just melt before your eyes.

Chub are not alone in liking their living quarters to be surrounded with snaggy branches and tree roots.  Carp too can be found near to, or within, the most tangled of hidy holes.

I understand that, in the USA, bass enjoy lurking in similar places.  The expert bass angler makes it a special skill to identify "structure", knowing that here is a place where bass can usually be found.

Wild trout, both wild brown trout and wild rainbow trout, like these snaggy places too.

  
Here is a little spot from yesterday's visit to the Derbyshire Wye and below is the delightful wild rainbow trout who lives there.


When catching a fish in such places, the technique can best be described as "hook and hold", with no line being given unless absolutely forced so to do. Those first thrashings can decide all. Hold on enough to guide the fish out of its fortress and you then have a fair chance of winning the argument.


Regular Rod

Friday, 22 April 2011

And lead us not into temptation...

Take care that you do not yield to temptation and just take a little peep too many and from too close a vantage point whilst out with the dry fly early in the season.  Right now our allies in the margins have not yet grown high enough to help us in our attempts to be unnoticed by the fish. 

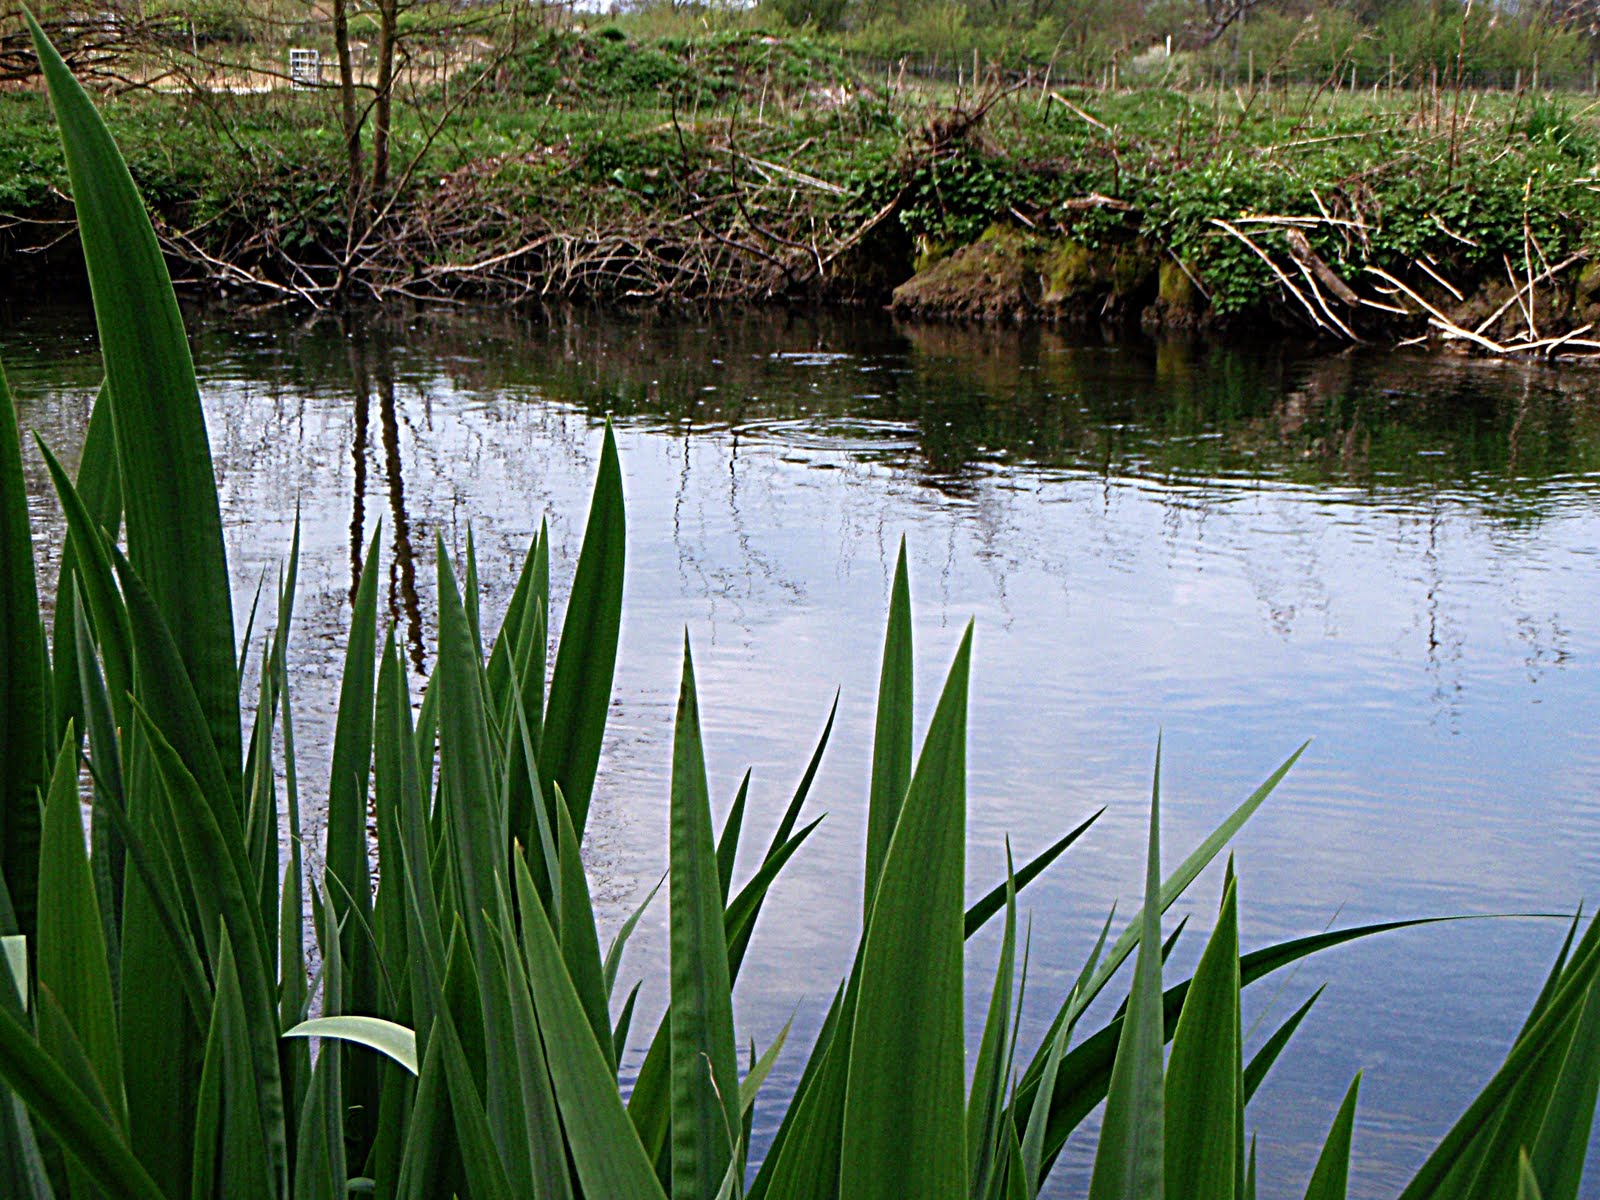
You may find some blades of fleur-de-lys are high enough now for you to hide amongst.  If so, do use them where you can.  BUT... whatever you do, you must resist the temptation to raise your head up to get a better view of the rising fish.  These pictures help to illustrate the point.  The first is what you might see while standing well back from the water's edge and so unseen by the rising fish.  Having spotted the rising fish you sneak in low to hide amongst the cover. 


The second picture shows you what your (hidden) head height view is likely to be.  It is not as easy to see the rises.  That is when the temptation is strongest.  Resist it!  Make your cast and reap the reward of your stealth...


Regular Rod

Wednesday, 20 April 2011

Risky Business?

You have to speculate to accumulate!
Take a peep at this little vantage point, hard up close to the opposite bank.  A nice overhang that prevents attack from above.  Some stalks from last year’s nettles that act as a comb to comb your fly and tippet away from the occupant.  It is a good place to live and a good place to try a cast and presentation into.  The risk is that the fly will hook up on the dead stalks and even if you get the fly back, the fish will be off his food for a little while owing to the disturbance of a fly behaving in a very odd way overhead.

The trick here is to cast so the leader is upstream and the tippet is laying downstream in advance, but you must get the fly right up close to the edge, within three inches to have a real chance.  To make the leader fail to turn over you can extend the length of the tippet where there is room to deploy it and it will fail to turn over nicely.  Here the angler is surrounded by vegetation and trees behind so the lengthened tippet is not an option.  The way to make it fail here is to deliberately put extra force on the forward cast and the leader will fail to turn over fully.  To avoid scaring the fish with a nasty hard landing, aim the cast upstream a little more than you would normally and cast as though the water is actually up at shoulder height.

You only need the fly to drift into the fish's hole for a couple of seconds.  Manage that and bam!  You have the rise and the rest is up to you.  Of course if the fish doesn’t take the fly then the dead stalks will.  It is indeed “Risky Business”...

Regular Rod

Sunday, 17 April 2011

Behold! My Prodigal Fly...

... has returned unto me!

Let's admit it.  You and I, we all lose flies in: trees, bushes, long grass, last years figwort seed heads, barbed wire fences, even inquisitive livestock, which may sneak up behind us, has been known to take our flies from us.  No doubt you do your best to get them back, especially if they are dangling, as a wicked trap, waiting to bring the life of a passing bat to an unwarranted early end.

Last year, during the Drake, I caught a blessed sycamore tree (why this invader is not eradicated from the British Isles is beyond my comprehension) high and over water too deep for me to paddle into.  The break was close to the fly and the hook point was embedded deep, so no dangling and no dead bats.  Oh well, never mind, put on another fly and return from aerial gardening to fishing once more...


I forgot all about it. 

Until, that is, the other day when I repeated the error and caught up in almost the same place as last year.  This year the river is so low I could walk out on the dry shingle and carefully pull down the offending branch, safely retrieve this year's fly and could just reach to snap off the twig in which last year's fly was held fast.

It was interesting to see the knot had held firm whilst the monofilament had failed.  On extracting the fly I might have repaired it with new tails but... the hook is rusted.  The fly may have returned unto me but it is, in truth, defunct!

We owe it to the bats to do all in our power to get those dangling flies back.

Regular Rod

Thursday, 14 April 2011

Too Early?

Too Late?

A dawn raid in summer, especially after the previous day and evening had been one of great activity amongst the Drake, is pretty well known as a good thing to try.  But what about in April when, seemingly, fly life is not yet in abundance?
Derbyshire Wye 14th April 2011 5:33 a.m

Derbyshire Wye 14th April 2011 6:02 a.m.

Have a look at these two pictures. I apologise for their great size and bandwidth gobbling propensities but I want you to have the option of making a click on them twice to see the rise forms. Check out the times they were taken this morning.

Maybe we are missing some opportunities here?

Regular Rod

Sunday, 10 April 2011

Low Water, Too Low...

Although the first week of the season round here has been pretty well superb, the rivers are very low for this early in the year.  We do need water. Time to pray for rain again methinks...


Regular Rod

Wednesday, 6 April 2011

"Twisting by the Pool?"

Not with the Poly Prop Spent Gnat (PPSG) you won't!
The keywords statistics for the blog recently showed quite an interest in twisted tippets and leaders.  Following the tracks of the readers, who were seeking information with Google searches including the keywords “twist”, “tippet” and “leader” in close proximity to each other, showed that some of you are indeed interested in how to avoid this devastating, time-wasting and potentially damaging condition.

Apart from always removing any accidentally hooked up leaves from the fly before casting, what else can be done?

Some of the worst twists I ever experienced were when I used to use fan winged mayflies during the festivities with the Drake.  They looked truly wonderful but they used to make fishing at mayfly time a frustrating exercise in repairs and replacement.  This frustration led to the preference for hackled patterns with no wings.  Where wings were certainly needed, it was necessary to devise patterns that didn’t behave like a propeller on a model aeroplane, spiralling up the tippet and leader as if they were part of some extended rubber band motor.

Here follows an example of a fly that has very obvious wings and yet it never spins up and spirals the tippet.  It is another fly for the Drake and is my attempt at the “Spent Gnat” or more accurately named (but not traditionally) the mayfly spinner.

The adult female mayfly (Imago), once her eggs have been fertilised by one of the males dancing nearby, in the lee of anything on the bank, including any conveniently seated angler, will make her way to the river again accompanied by great numbers of her sisters.  In low, swooping flights they pass up and down over the water until ready to make their bombing runs.  During these seemingly exploratory flights many of these adult females will fly a little too close to the surface and be plucked from the sky by acrobatic trout leaping out to seize these tempting morsels.  Unable to work out a strategy for presenting a fly to catch fish feeding in this way, the tactic is to sit and wait until the flies are actually managing to touch the water and deposit their eggs.  As they do this some will have accidents and end up stranded on the surface.  Their oviposition unfinished, they struggle to release themselves, writhing and squirming, bodies curved and maybe one wing up with the other hopelessly down, glued to the surface.  These flies are usually taken vigorously, as struggling prey so often is.  Maybe a struggling meal might be successful in extrication and escape now and then, so it has to be secured decisively and speedily?

Most of the ovipositing flies will succeed in completing the cycle.  They will dive down to the water and at the last moment curve themselves to scrape off the eggs against the surface as they fly back up to their approach height and repeat the process.  Their work complete they continue the same flight pattern until the last few calories of their energy stores, which they had spent up to two years in the making, are finally used up.  Then with wings outstretched they fall.  Some are already dead in the air, others are dying.  They land with outstretched wings and lay there, cruciform, completely flat to the surface.

There are no struggles, apart from the odd slight twitch.  No signal is made that they may escape.  None of them will escape because that is how it should be.  Now the trout will feed on these flies in a very different way from previously...

The whole process is calm and easy.  There is neither fuss nor sense of urgency.  The flies are drifting down river on a seemingly endless conveyor belt.  Each fish positions itself on its own station, holding a level pose, a few inches at most below the surface.  The rise is made as a tilting action in just the same way as we considered last July with the Sherry Spinner stage of the Blue Winged Olive.  The nose breaks surface, followed by the back and dorsal fin, then the tail and the fish returns back to the original level pose.  The rise form is elongated just like the rise to the Sherry Spinner.  The only difference is that the flies are so big we can see them more easily and so judging where to place our fake on the conveyor full of real ones is also easier.

Under these conditions, when the artificial is right, it gets the same easy, steady, no-fuss rises.  If the rise is splashy...  it means the fly is not quite right.

This “Spent Gnat” really is “right” in more ways than one.  It is right for the angler because it is easy to tie, lands gently and never twists up the tippet, in despite of its prominent pair of wings.  It is right for the fish because it has enough of the triggers to convince the fish it is indeed one of the flies it is busy eating and so it is accepted in a calm and serene way.  A fish eating a fake spinner in the same innocent way that it eats a real one is a sight that can give you a, justifiable, feeling of pride.  It is surely the one true moment when Vanity is not a sin but, because you earned it, is a solid virtue!

You need the following:


Size 8 or 6 LS Hooks

Brown tying thread

Cock Pheasant centre tail feathers


White Polypropylene yarn

Black or Dark Blue Polypropylene yarn

Large Badger Cock Hackles

Dark Brown Permanent Marker Pen


Debarb the hook and put it in the vice as shewn.  At the bend start the thread and with tight turns build up a tiny ball of thread.


Take a good bunch of cock pheasant centre tail feather fibres, here I am using a mixture of black and natural red fibres.  Gauge them to be one and a quarter times longer than the length of the hook shank.


Tie them in against the ball of thread and splay them out, locking them in position by tight turns against the ball.


Continue forward to make a slim base of tied in fibres and thread, leaving about of an inch clear behind the eye.  Trim off the waste ends.


Tie in a strip of the ethafoam, taking the thread in tight touching turns back to the bend.  This is to keep the underbody slim.


Wind a slim body of the ethafoam in tight overlapping turns making a thin carrot shaped body finishing with the ethafoam at the bend.  Tie it in with four tight touching turns.  Trim off the waste ethafoam strip and if there is a tiny bit showing, tie that in with a couple more turns of the thread.


Rib the body with the tying thread.  Continue forward with tight turns making a bed of thread about ¼ of an inch long.


Take about five inches, just over a hand’s breadth, each of the white and the black (or dark blue) polypropylene yarns.  Lay them side by side and carefully split them up into separated fibres and mingle them together side-by-side.  When they are evenly dispersed, gently twist them together into a “yarn”.  You may need to halve the result with your dubbing needle to get the yarn slim enough, say about as thick as one of the original yarns.


Take your mingled yarn and tie it on top of the hook with two turns of thread and leaving just over a hook’s  length of yarn pointing forward over the eye and the long remaining yarn back over the hook bend.


Take the long end and pull it towards you, holding it horizontally at 90 degrees to the hook, take a turn of thread under the hook and bring it over the yarn from the bend side and then over the hook.


Now hold the shorter end of yarn out in the same way but on the other side of the hook. Bring the thread over the hook in front of the yarn and then make figure of eight turns to lock the yarn in place making an untidy cross shape.


With the thread dangling in front of the yarn, take hold of both ends of yarn and pulling them back tightly with the fingers and thumb of the left hand (right hand if you are a Southpaw), gauge their length to be just about level with the end of the hook, a little longer is OK as you can always trim them again, snip them to length with the scissors.   Take care not to cut the tail fibres!


That takes care of the wings.  The fly would work like this but it would spiral your tippet in a few casts.


Prepare the badger cock hackle and tie it in as shewn, with the concave side facing you and the stalk over the hook bend.  Take the thread to the start of the body as you tie in the hackle.  Let the thread dangle there.


Wind the hackle fully taking care to trap the wings out at their 90 degree angles.  Tie it in and wind the thread quickly through the wound hackle.  Make a whip finish and varnish the head well, remembering to clear the eye of varnish whilst it is still wet.
 
You now have a fly that would catch the occasional fish and would never twist your tippet.  However, as a “Spent Gnat” it is almost useless.  We have one more job to do.


Turn the fly upside down.  Take your fine point scissors and very carefully cut off every bit of down pointing hackle from the centre as close to the hackle stalk as you can manage without cutting the stalk itself.


Dab two or three little blobs of brown permanent marker on the sides of the last two or three segments of the body as shewn.  Now you have the finished fly.  This fly, done like this, is now perfect for the job we had in mind.  The trout will eat this in calm, serene innocence.  Please do use it with restraint.  In unkind hands it could lead to excess...


Regular Rod

Saturday, 2 April 2011

Checking a bit more carefully...


...check list? 

Huh!  Fat lot of good if you don't look closely.

If you get to fish regularly your monofilament doesn't get chance to exceed its sell by/use by date.  It gets used up!

I did a silly thing yesterday.  The spools of monofilament were all there.  Each had a little tail of mono sticking out from the hole in the elastic that stops all the line spilling off the spool.  I needed to make a new tippet.  Pulled on my 5X and off came a foot of the monofilament.  That was it!  A foot!

Fortunately I had another spool but I nearly didn't bother bringing it.  Black spools don't let you see how much is left.  The elastic covers the turns so you don't get to see the arbor starting to show through, unless you check it.  There's a new item for the check list...  Check the amount left on the spools.  Check?... Check!  ü


Regular Rod

Wednesday, 30 March 2011

All Fool's Day is...

almost upon us!


Is there anything worse than arriving at the waterside to discover you have forgotten something and that something is going to be sorely missed this day?

Hopefully this might help you.  If you want to add stuff do so and you may not need it all anyway.  For example, my first day out will require no waders so they will be ignored.  You may need to wade so you may eschew the wellies and overtrousers... and so on.

Right click the list and choose Copy.  Open a new document in your wordprocessor and right click and Paste it in.  Then print it out for your checking off all the things you might need.

Of course you may need a couple of mates to help you carry it all...

Have a great opening day, all of you!


Regular Rod

Thursday, 24 March 2011

A Confidence Booster...

...for the fish, when the Drake is just starting!

If any of you kind readers out there in the blogosphere are getting fed up of fly dressing posts at the moment, I apologise in advance. It’s still the fly tying time and once the season gets underway it can be difficult to set time aside to tie flies in quantity. You probably know too well the pressure that can creep in when you suddenly realise you need to replenish a dwindling stock of certain patterns because you have a feeling you will need them this day. The materials are snatched out of their boxes and packets, hooks are debarbed, maybe five maybe ten, then it’s on with the Anglepoise and tie, tie, tie for all you are worth because you really need to be setting off to the river - now!

Let’s do a few flies in anticipation of the season being really well underway, when the world is alive and in full swing.

Last time we looked at a pattern for use when the Drake has been around for a while and the fish need something to convince them to eat your fly, instead of all the hundreds of real ones that litter the surface.

This time here is a useful pattern for quite the opposite set of conditions!

The Drake puts in its appearance in dribs and drabs early in its own delightful season. All the usual behaviours are there. The flies that manage to eclode and be away to the surrounding vegetation in no time at all, the flies that eclode as cripples with crumpled wings, the flies that get stuck in their nymphal shucks, the flies that appear to be perfectly okay but sit there, drifting like tiny sailing yachts for ages before they lift off to the river bank and the relative safety of the underside of flowers, leaves, twigs and branches.

They are all there.

The thing is, there are relatively few of them in the first few days of their season and they are not always taken with confidence by the trout. We need something that will look worth eating but without seeming too big to tackle in safety and it needs to appear as an easily taken meal.


Our fake for these circumstances is a little smaller than the real thing. It is designed to hint at some of those easier pickings amongst the flies that have their shucks still attached and it carries a wing to ensure delicate landings are easy to achieve when you make your casts. It has a fur body and so absorbs lots of floatant, which helps it to stay nicely afloat.

It is called, very simply, Hairwing Mayfly!

You will need:


size 12 Long Shank Hooks
a piece of wild rabbit skin
brown tying thread
cock pheasant centre tail feathers
badger cock hackles
grey squirrel tail
(I do like them natural but dyed yellow, rather than bleached and then dyed)


If you have tied a few of those Grey Dusters already you will find this fly is just an easy development of the Grey Duster plus some little modifications...


Debarb the hook and put it in the vice as shewn.  Half way along the hook shank, begin a bed of the brown thread and run it down to the start of the bend.


Gauge a good bunch of the pheasant tail fibres to make the tail a little longer than the hook. 


Tie in them in.


Carry on tying in the fibres right up to a point about ⅛ of an inch (3mm) behind the hook eye.


Snip off the waste ends.

Cut off a bunch of squirrel hair from the dyed tail. You can decide how thick or transparent you want your wing by the quantity of hair you use for each wing.  Flick out all the downy underfur. Use a stacker to line up the hairs by their outside tips.


Carefully tie in the bunch of hairs on top of the hook shank, gauging the length to be a little longer than the hook shank from the start of the bend to behind the eye.  Tie it in tightly for five or six turns, leaving the ends of the hairs pointing out over the hook eye and the butts of the hairs pointing at the hook bend.


Trim off the waste butt ends at an angle as shewn.


Put a tiny drop of varnish onto the trimmed hairs and run the thread down over the varnished roots.


Run the thread back to where your frontmost turn of thread is over the squirrel hairs.  Tie in either one long badger cock hackle from a genetic cape or else two badger hackles, prepared in the same way as for the Ethafoam Bodied Mayfly, from an Indian cape. Indian capes provide the best badger colours and markings, but the genetics provide the best quality hackles.  Tie in the hackle(s) and bind the hackle stalk(s) down for about ten tight touching turns of thread. This will be the bed for the hackle(s) when wound.  Snip off the waste hackle stalk(s).


Dub on a good pinch of the rabbit fur.


Wind the body and rib it with the tying thread finishing with the thread dangling where you started the body.


Wind the hackle (or hackles). Tie them in and quickly wind the thread through the turns of hackle.


Take the hair wing in the fingers of the left hand (or right hand if you are a Southpaw) and, whilst holding it up and back out of the way, wind turns of thread tight under the root of the wing to lock it pointing forward and up at an angle of anything from 45 degrees to 60 or 70 degrees.


Let go with the left hand. If you want to raise or lower the wing do so by either adding or taking away locking turns of the thread.


Make a whip finish and varnish the thread well. I use the brush in the Sally Hansen Hard as Nails bottle. Use a waste hackle tip to pull through the eye, clearing it whilst the varnish is still wet.


The finished Hairwing Mayfly.


As intimated earlier, this fly seems to work really well when the Drake is new to the fish. It lands like thistledown and “always” the right way up. It is vital to only make one wing. Two wings will spiral your tippet in no time at all, whilst one will let you cast all day without any trace of a twist.

Grey Duster
By changing some of the materials but using the same anatomy, you easily can make variations of this fly, which is just as well as it only a variation of the Grey Duster in the first place.

What do you like to use during the start of the Drake? Do you fancy this idea of suggesting an easy prey when there is still a while to go before the fish are confident to mop up every Drake they can find?


Regular Rod